
How to Set Up in 30 Minutes: A Step by Step Guide
A practical walkthrough for compliance teams to launch a fully functional Trust Center quickly, covering branding, public content, restricted documents, and knowledge base setup.
How to Set Up a Trust Center in 30 Minutes
Most compliance teams think setting up a Trust Center requires weeks of preparation, multiple stakeholders, and a small army of consultants. They're wrong.
The reality is that you already have everything you need. Your DPA exists. Your certifications are sitting in a folder somewhere. Your security controls are documented. The only thing missing is a centralized place to share them.
This guide walks you through setting up a functional Trust Center in about 30 minutes—enough to share with your first prospect today. We'll cover the advanced features too, but those can wait until tomorrow.
Step 1: Monkey Use (2 Minutes)
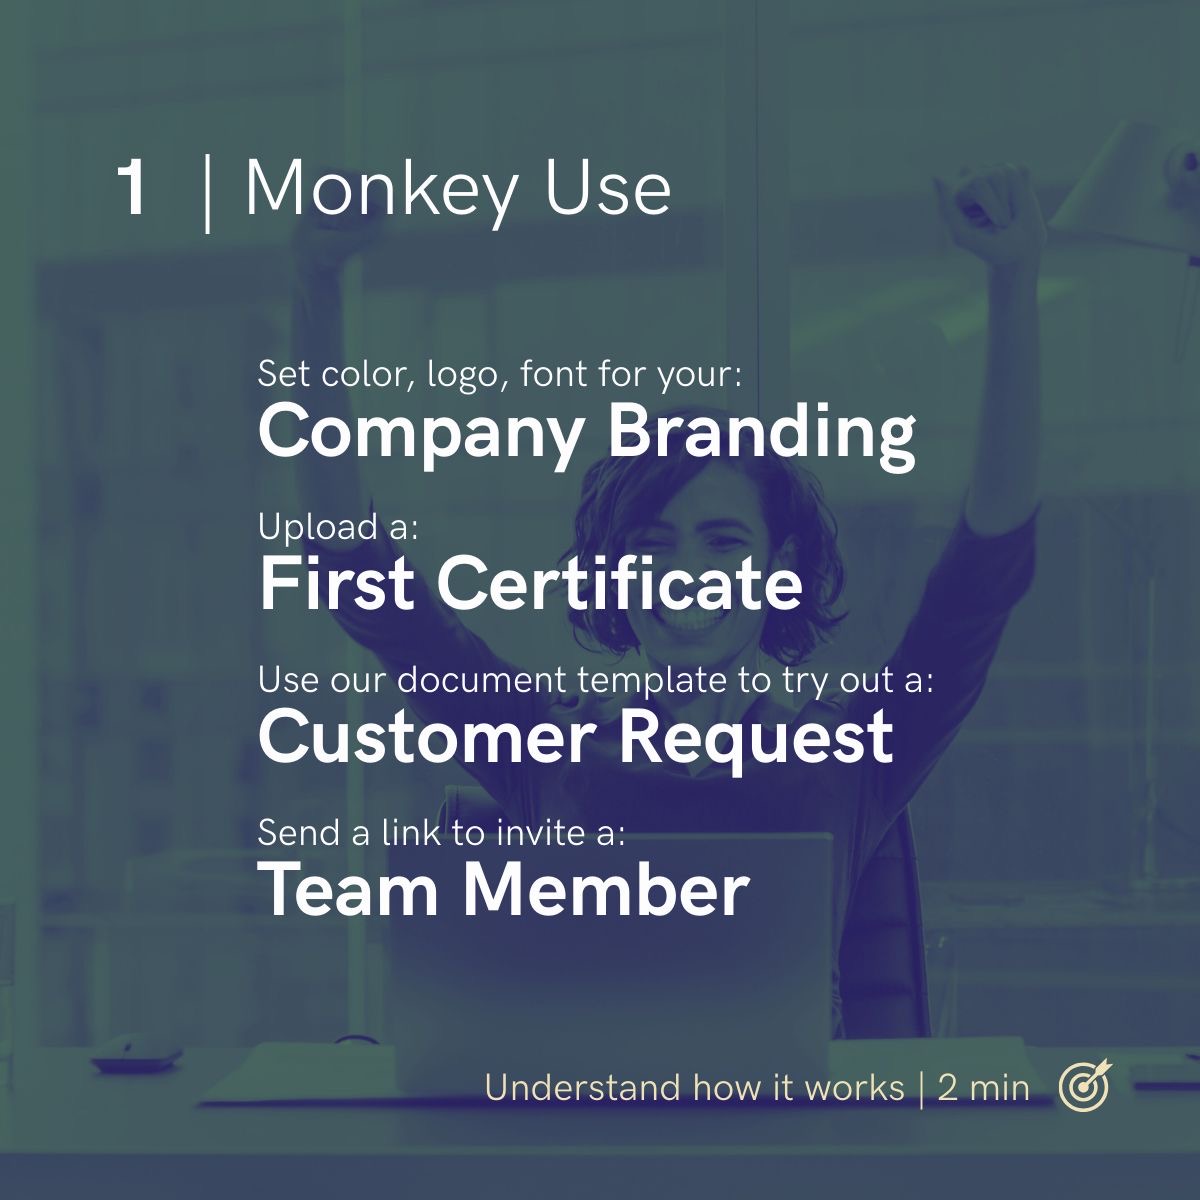
Before diving into content, spend two minutes understanding how the system works. This orientation builds muscle memory so you don't second guess yourself later.
Company Branding
Set your color palette, upload your logo, and choose your font. This takes sixty seconds and ensures every document, every page, and every customer interaction looks like it came from your company, not from a generic template.
First Certificate
Upload one certificate. Just one. Pick your most impressive—ISO 27001, SOC 2, GDPR certification, whatever your company has. This accomplishes two things: you see how the upload process works, and you immediately have something real to show.
Customer Request
Use the document request template to simulate what your prospects will experience. Send a test request to yourself. Watch how the notification arrives, how the approval workflow functions, and how access gets granted.
Understanding the customer experience firsthand prevents you from building something that frustrates the people you're trying to impress.
Team Member
Send an invite link to one colleague. This could be someone from sales who'll share the Trust Center with prospects, someone from legal who'll review content, or another compliance team member who'll help maintain it.
Step 2: Start with What's Already Public (30 Minutes)

Here's where you'll spend the bulk of your initial setup time. Everything in this section is content you've already created and probably already share publicly. You're not creating anything new—you're centralizing what exists.
Legal Docs
Upload your Terms of Service, Data Processing Agreement, Privacy Policy, and any other legal documents you routinely share with customers. These documents already exist. They're on your website, in your sales team's folders, or buried in email threads.
What to include:
- Terms of Service
- Data Processing Agreement (DPA)
- Privacy Policy
- Acceptable Use Policy
- Service Level Agreement (if public)
Subprocessor List
Open your DPA. Somewhere in there—probably in an annex or appendix—you have a list of subprocessors. Extract that list into your Trust Center's dedicated subprocessor section.
What to document for each subprocessor:
- Company name
- Purpose/service provided
- Data processed
- Hosting location
- Link to their security documentation
Security Controls
This is where you describe your Technical and Organizational Measures (TOMs). You don't need to document everything—start with the controls prospects ask about most frequently.
High priority controls to document first:
- Data encryption (at rest and in transit)
- Access management and authentication
- Network security and firewalls
- Backup and disaster recovery
- Employee security training
- Incident response procedures
- Physical security (if applicable)
Pick the controls you're most confident about. Write two or three sentences for each. You're not writing policy documents—you're answering the question "what do you do about X?"
Customer FAQ
Every company has questions they answer repeatedly. "Where is your data hosted?" "Do you support SSO?" "How do you handle data deletion requests?" "What's your uptime guarantee?"
Most Trust Center platforms provide default FAQs. Review them. Edit the ones that apply to your business. Delete the ones that don't. Add the questions your sales team forwards to you most often.
Step 3: Set Up Restricted & NDA Content (45 Minutes)
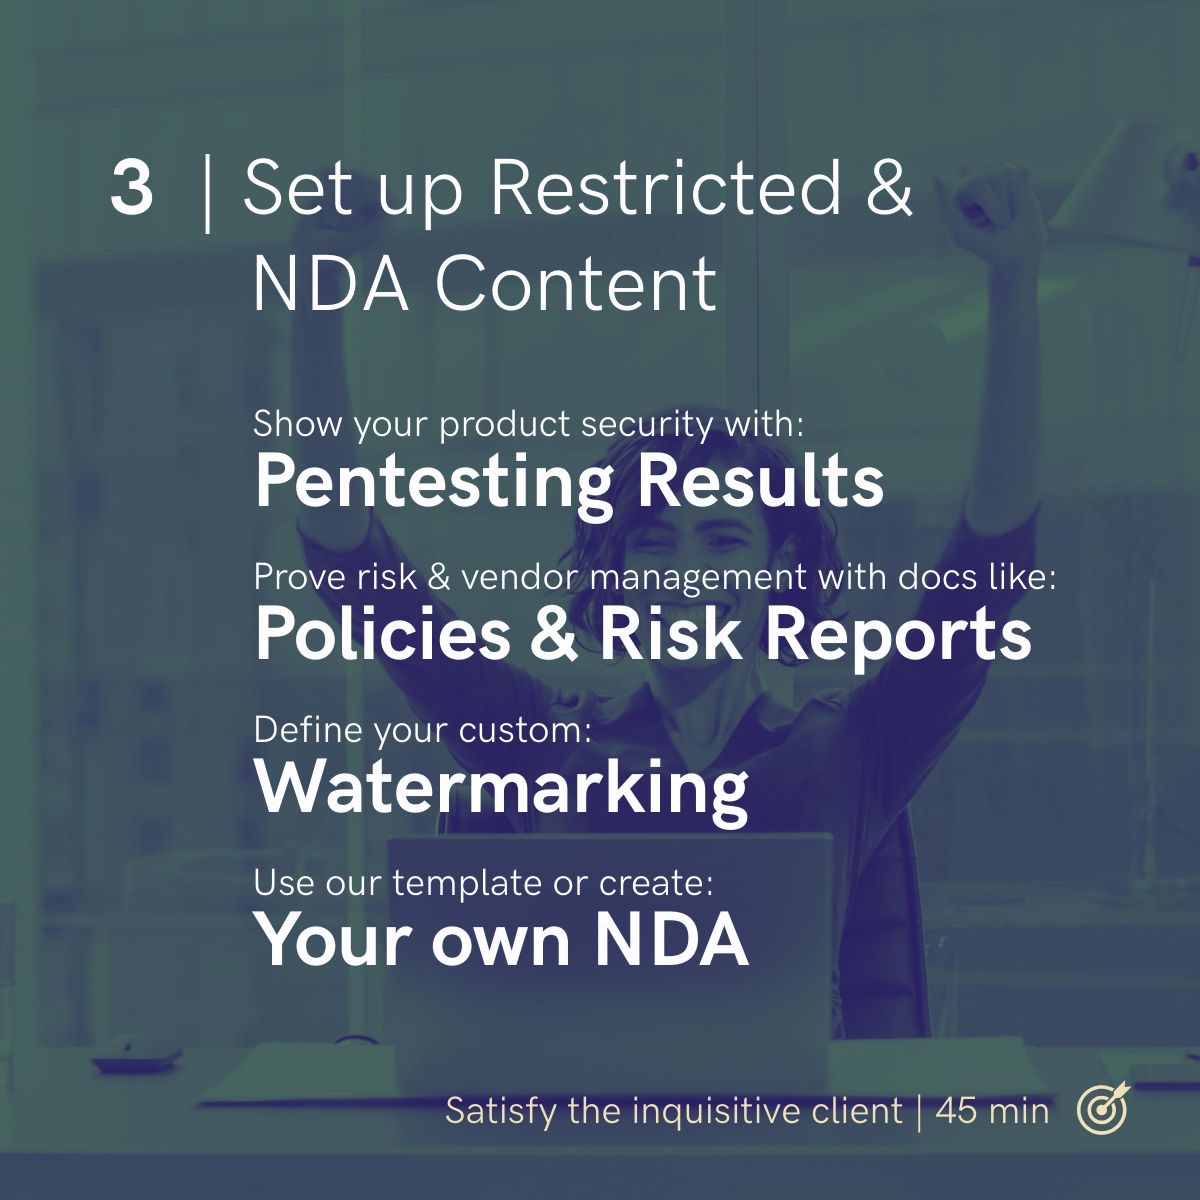
Some content shouldn't be publicly accessible. Penetration test results, detailed risk assessments, and internal policies reveal information that competitors or bad actors could exploit. This step adds protected content that prospects can access only after verification or NDA signing.
Pentesting Results
Penetration test reports are among the most requested documents in security reviews—and the most sensitive. They detail vulnerabilities (even if remediated) and testing methodologies that you don't want indexed by Google.
How to handle pentesting docs:
- Upload the executive summary or attestation letter (less sensitive, more commonly requested)
- Keep the full technical report behind NDA access
- Set expiration dates so access doesn't persist indefinitely
- Enable watermarking to discourage unauthorized sharing
Policies & Risk Reports
Internal policies demonstrate mature security practices. Risk assessments show you understand your threat landscape. These documents prove you're not just checking compliance boxes—you're actively managing security.
Documents to consider adding:
- Information Security Policy
- Incident Response Plan
- Business Continuity Plan
- Risk Assessment Summary
- Vendor Management Policy
- Data Classification Policy
Watermarking
Configure custom watermarks for sensitive documents. This provides protection, not paranoia. When a document surfaces somewhere it shouldn't, watermarks identify the source.
Watermark options to consider:
- Recipient name or email
- Access date
- Document expiration date
- Company confidential notice
Your Own NDA
Every company has its preferred NDA template. Upload yours so prospects can sign before accessing restricted content, creating a documented legal agreement without requiring manual contract routing.
NDA workflow benefits:
- Prospects can sign immediately without waiting for legal review
- Access grants automatically upon signature
- Audit trail documents who signed what and when
- Reduces friction compared to manual NDA processes
Pro: Fill Up the Knowledge Base (20 Minutes)
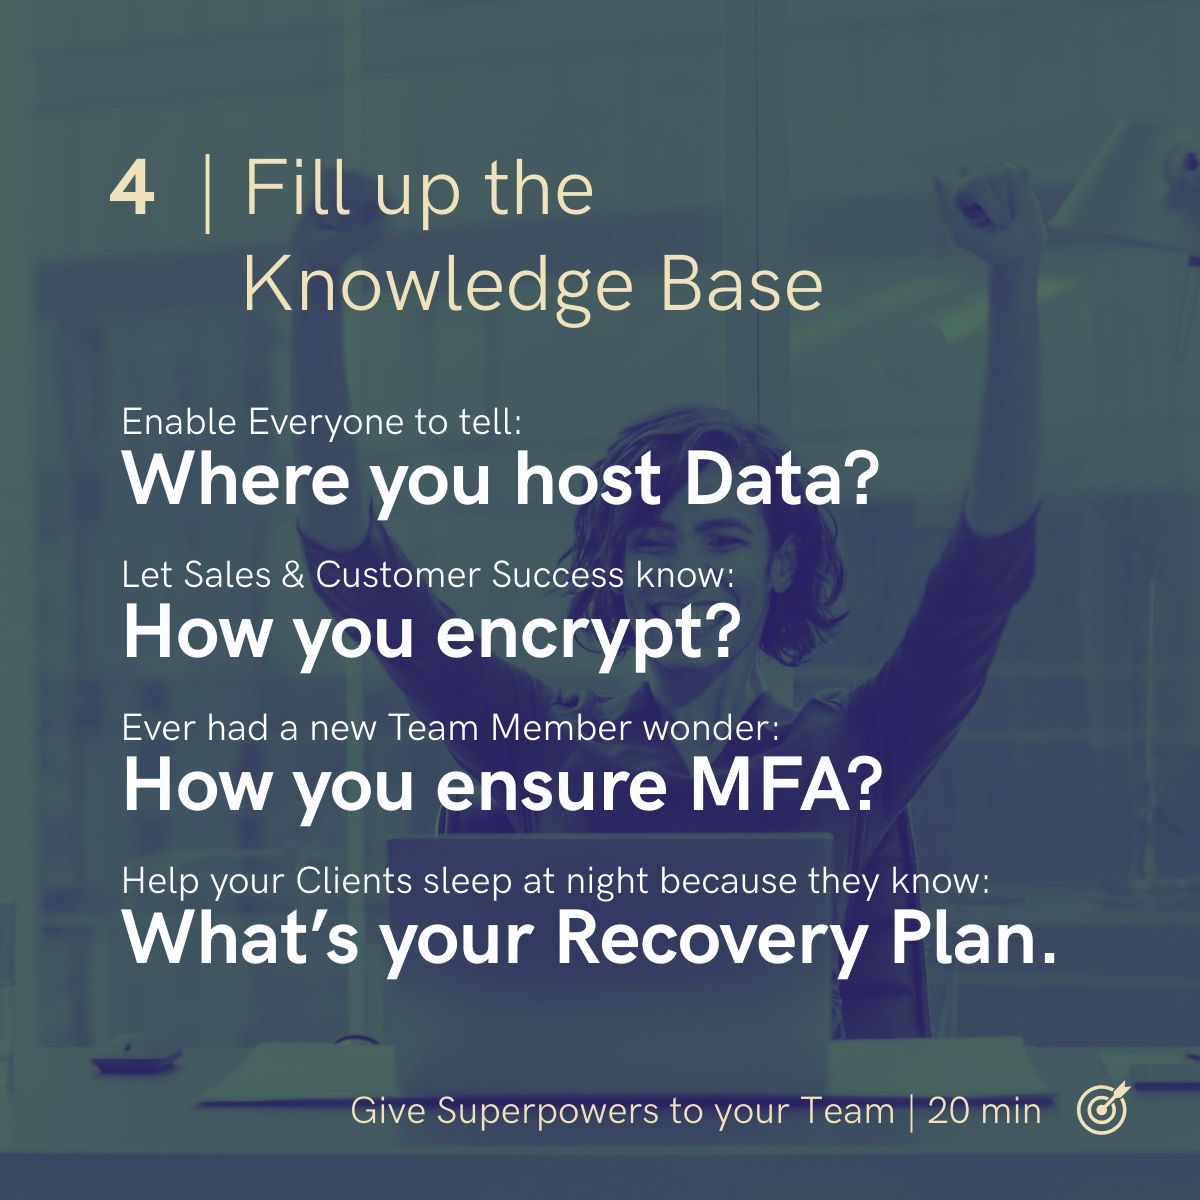
The Knowledge Base transforms your Trust Center from a document repository into an organizational resource. It captures institutional knowledge that otherwise lives only in the heads of your security and compliance team.
Where Do You Host Data?
Your sales team gets asked this constantly. Your customer success team fields it during onboarding. New employees wonder about it during their first week.
Document it once. Include:
- Primary hosting provider(s)
- Geographic regions available
- Data residency options
- Certifications of hosting providers
How Do You Encrypt?
Encryption questions come in many forms. "Do you encrypt data at rest?" "What protocols do you use in transit?" "Who manages the encryption keys?" "Do you support customer managed keys?"
Create a single source of truth:
- Encryption at rest (algorithms, key management)
- Encryption in transit (TLS versions, certificate management)
- Key management practices
- Customer managed key options (if available)
How Do You Ensure MFA?
Multi factor authentication is table stakes for security conscious organizations. But "we use MFA" doesn't answer the actual questions prospects have.
Document the specifics:
- What MFA methods are supported
- Which systems require MFA
- How MFA is enforced (policy, technical controls)
- Recovery procedures for lost MFA devices
What's Your Recovery Plan?
Business continuity and disaster recovery questions determine whether prospects can trust you with their critical operations. If your systems go down, what happens to their business?
Cover the essentials:
- Recovery Time Objective (RTO)
- Recovery Point Objective (RPO)
- Backup frequency and retention
- Failover procedures
- Testing schedule for recovery procedures
What You've Built

In roughly 30 minutes of focused work (or about 90 minutes if you complete all sections), you've created:
For your prospects:
- Self service access to security information
- Clear documentation of your compliance posture
- Controlled access to sensitive materials
- Professional presentation of your security program
For your sales team:
- A link to share instead of lengthy email threads
- Reduced time explaining security basics
- Faster deal progression through security reviews
For your compliance team:
- Centralized document management
- Audit trail of who accessed what
- Reduced repetitive inquiries
- Analytics on what prospects care about
For your company:
- Faster deals with security conscious customers
- Differentiation from competitors without Trust Centers
- Scalable security communication